via Orienteering USA – What is Orienteering
Explorers are the original adventurers: those who make their own maps. Hikers and hunters often use topographical (“topo”) maps (the US Geological Survey has been the primary source for these, but other sources are available too). Road maps are used by many to get from place to place, but these are generalized depictions of the world.
Do you ever get frustrated with park trail maps that don’t tell you where the trails go up or down huge hills? Who then wouldn’t like more than just a “road map” of their favorite local or state park?
In 1886 the word ‘orienteering’ was, for the first time, used to mean crossing unknown territory with the aid of a map and compass. Orienteering competitions were held by the military garrisons in Stockholm and Oslo 10 years later.
Orienteering as a sport in its own right started to develop in the Nordic countries at the beginning of the century. By 1930, orienteering had become firmly established in Finland, Norway and Sweden, with meetings and co-operation between these three countries already a regular feature. Harald Wibye of Norway brought orienteering to the United States, holding the first event in 1967 at Valley Forge in Pennsylvania. The Marine Corps Academy in Virginia also organized orienteering as a training exercise that year.
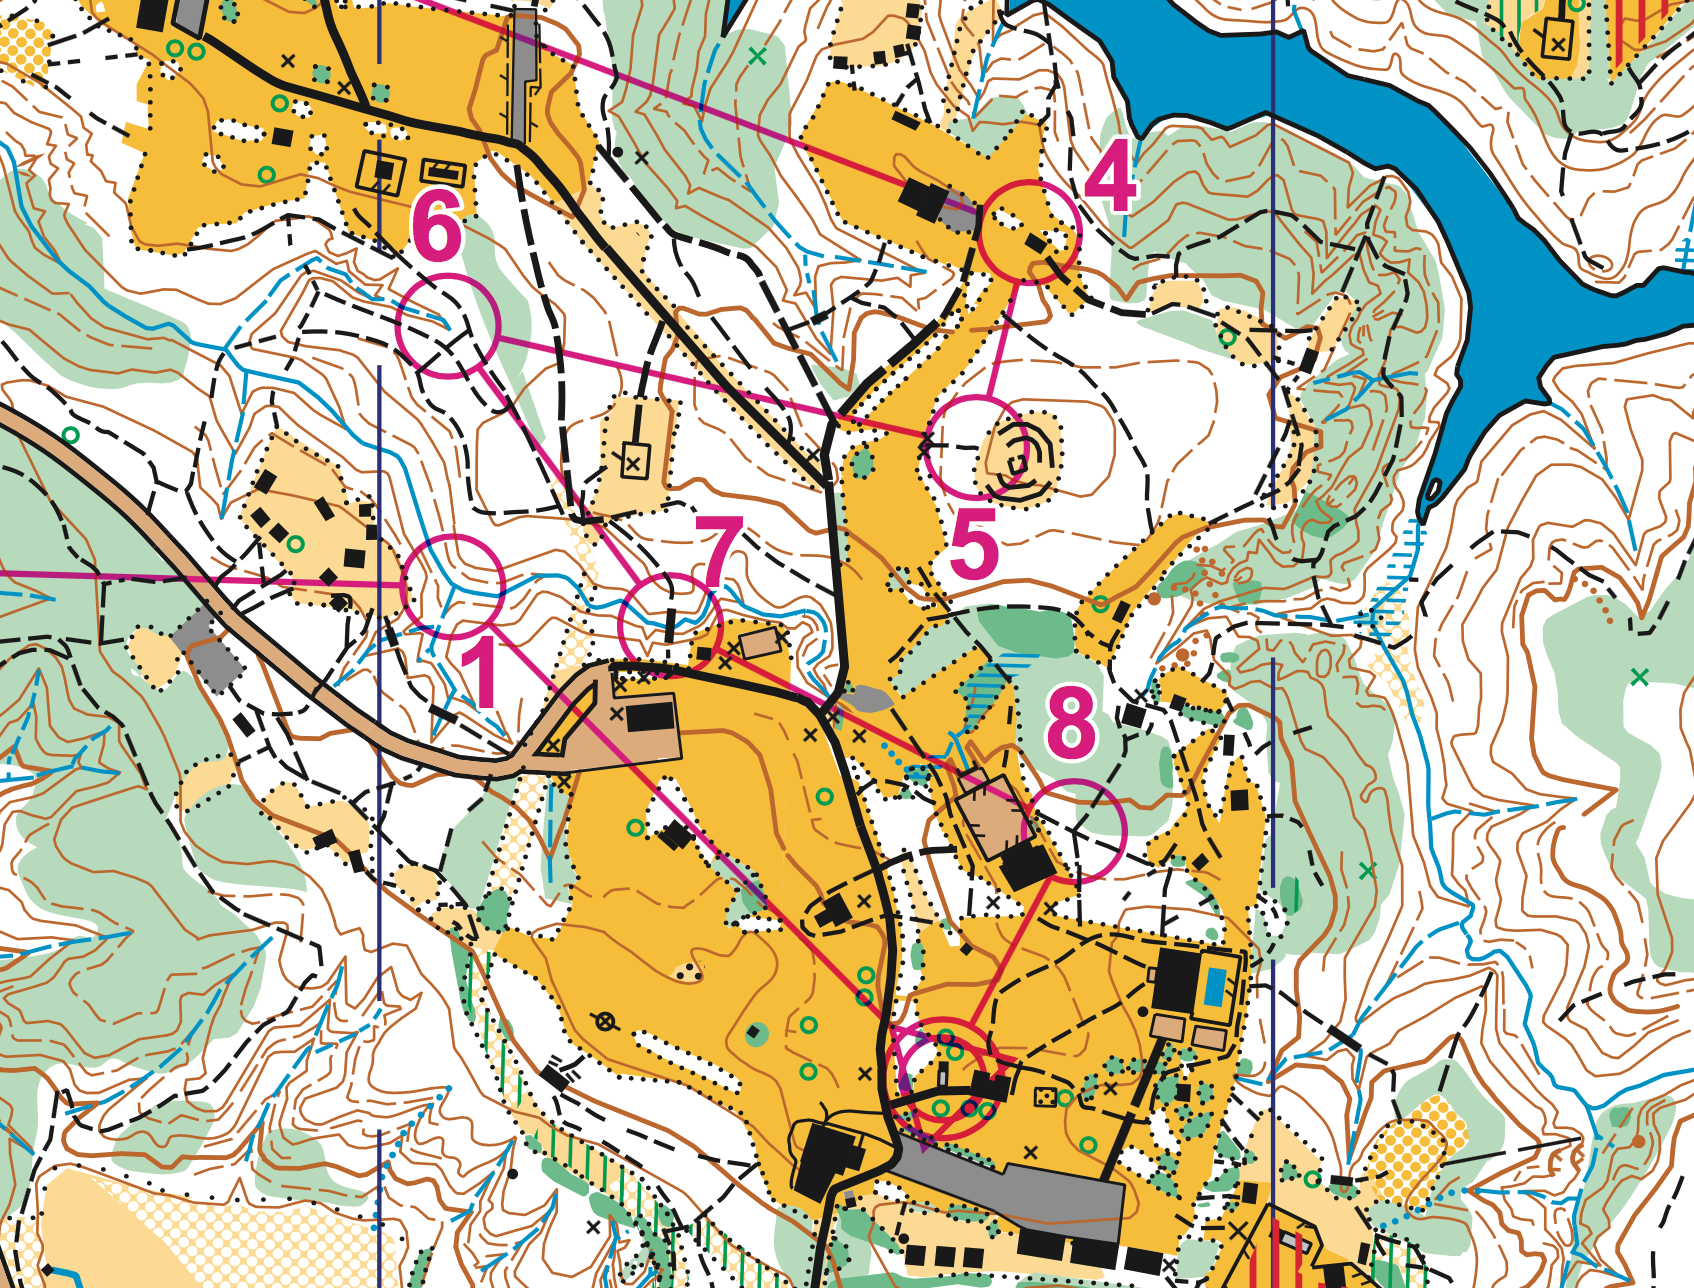
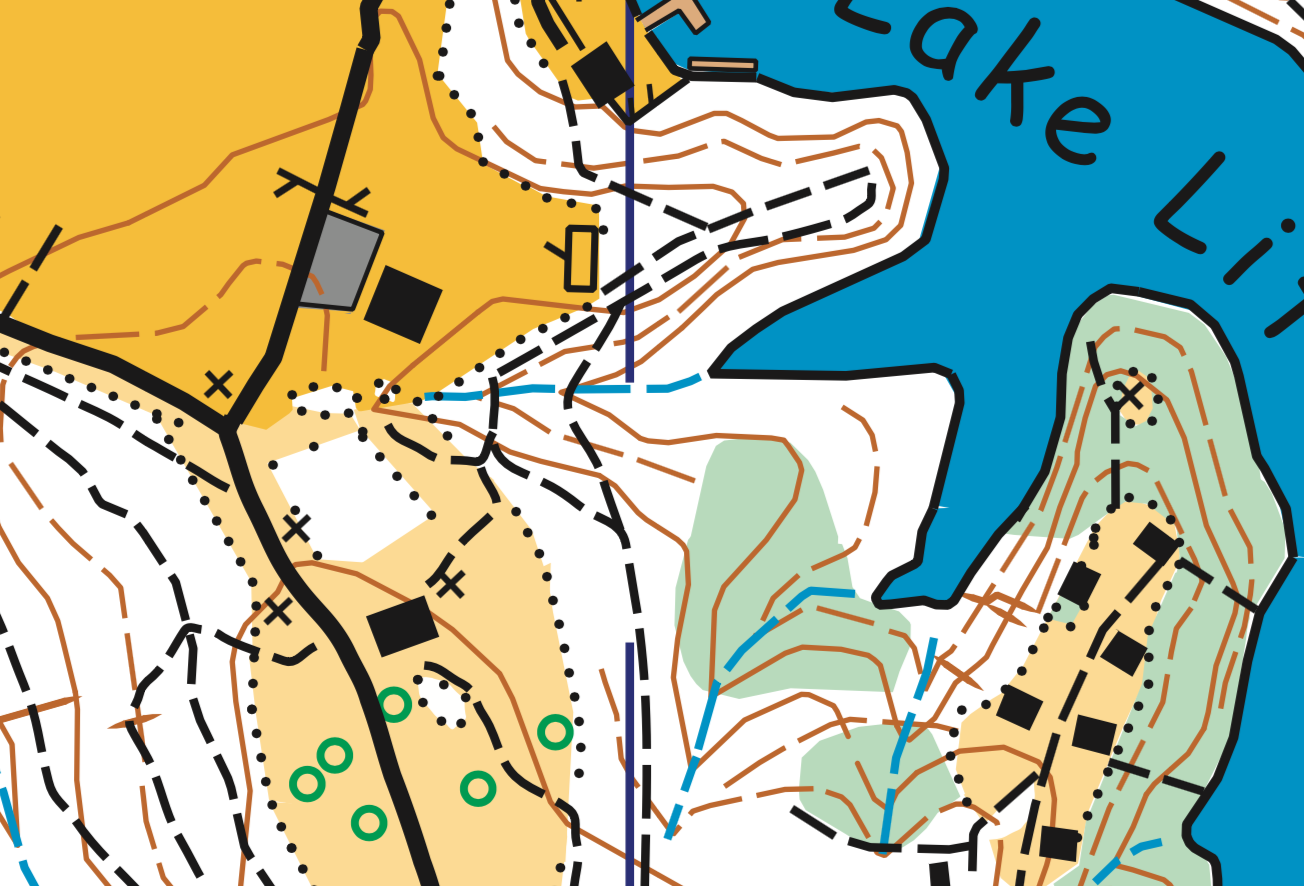
About the Map Colors
The first orienteering maps used in the U.S. were enhanced, two or three-color topo maps with details added such as water (lakes and streams), rock features (cliffs and boulders) and vegetation boundaries. Now, maps have five colors and give a lot more information.
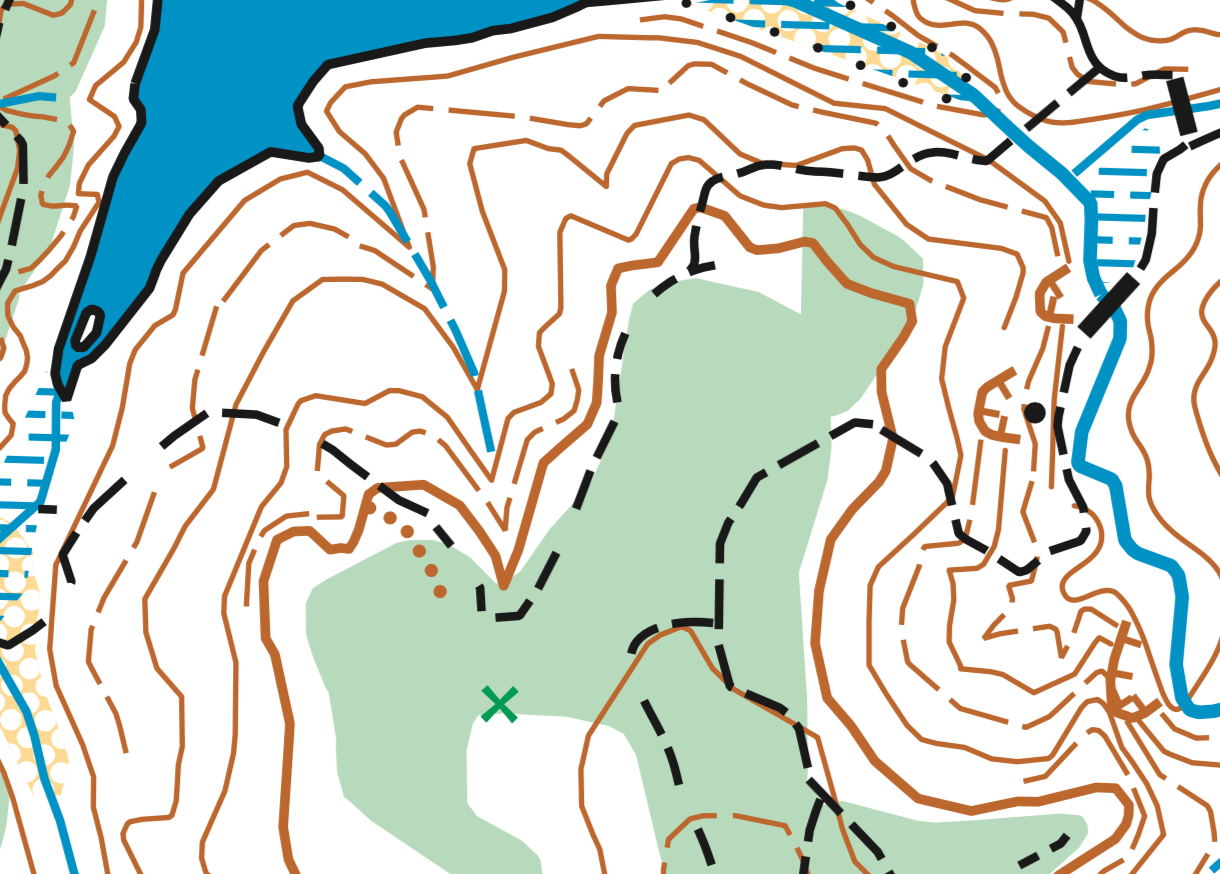
Brown: Land forms
Land forms are shown using contour lines with a contour interval (differences in elevation) of 5 meters. Additional symbols are provided to show e.g., earth bank, knoll, depression, small depression, pit, broken ground, etc.
Black: Rock features and man-made objects
This group covers cliffs, boulders, boulder fields, and boulder clusters, etc., as well as man-made objects including roads, trails, power lines, stone walls, fences, hunting stands, buildings, etc.
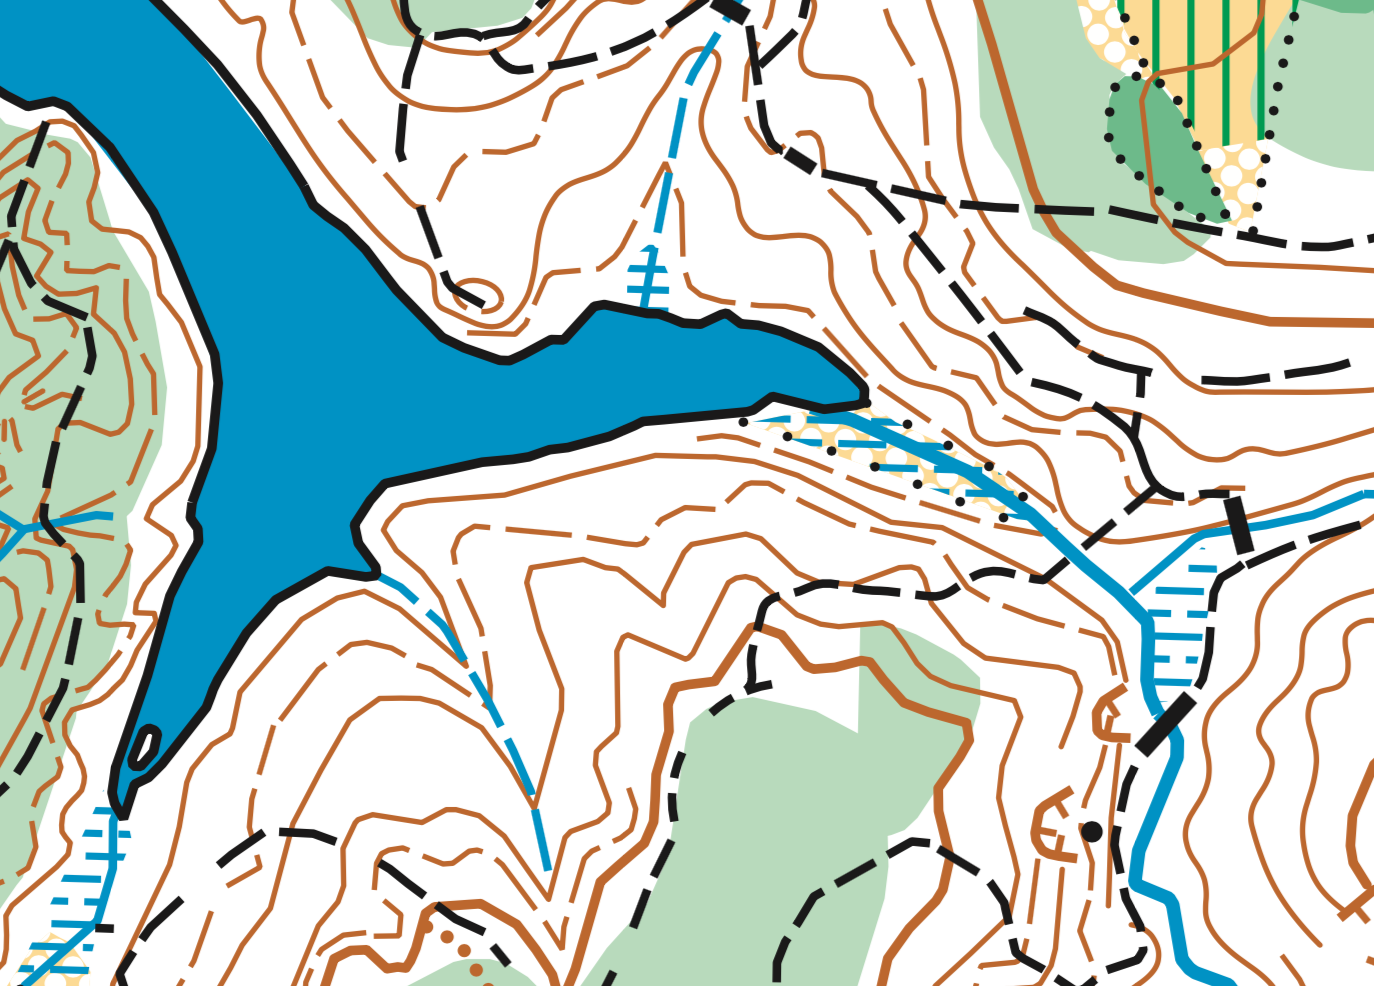
Blue: Water features
This group covers lakes, ponds, rivers, water channels, marshes, and wells, etc.
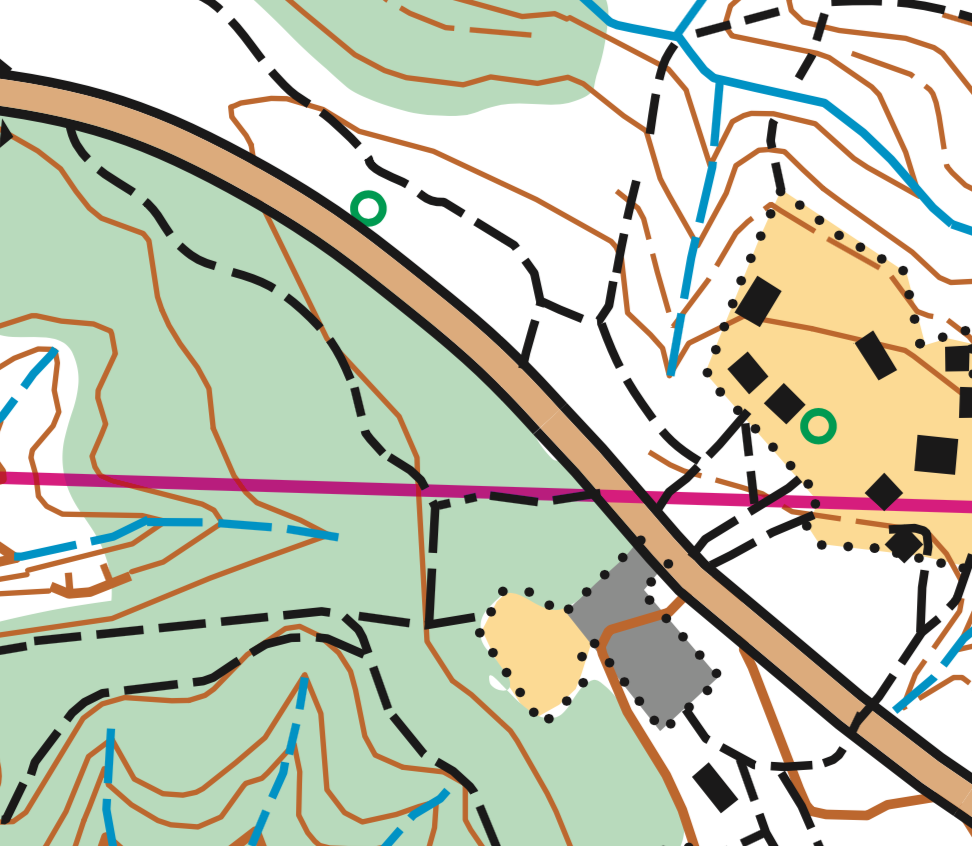
White/Green/Yellow: Vegetation
This group covers vegetation. White is typically open runnable forest. Green means a forest of low visibility with reduced running speed–the darker the green, the harder it is to see and run through. Areas of darkest green should be avoided. Yellow color shows open areas (think of the sun shining on them). Green vertical stripes are used to indicate undergrowth (slow or difficult running) but otherwise with good visibility.
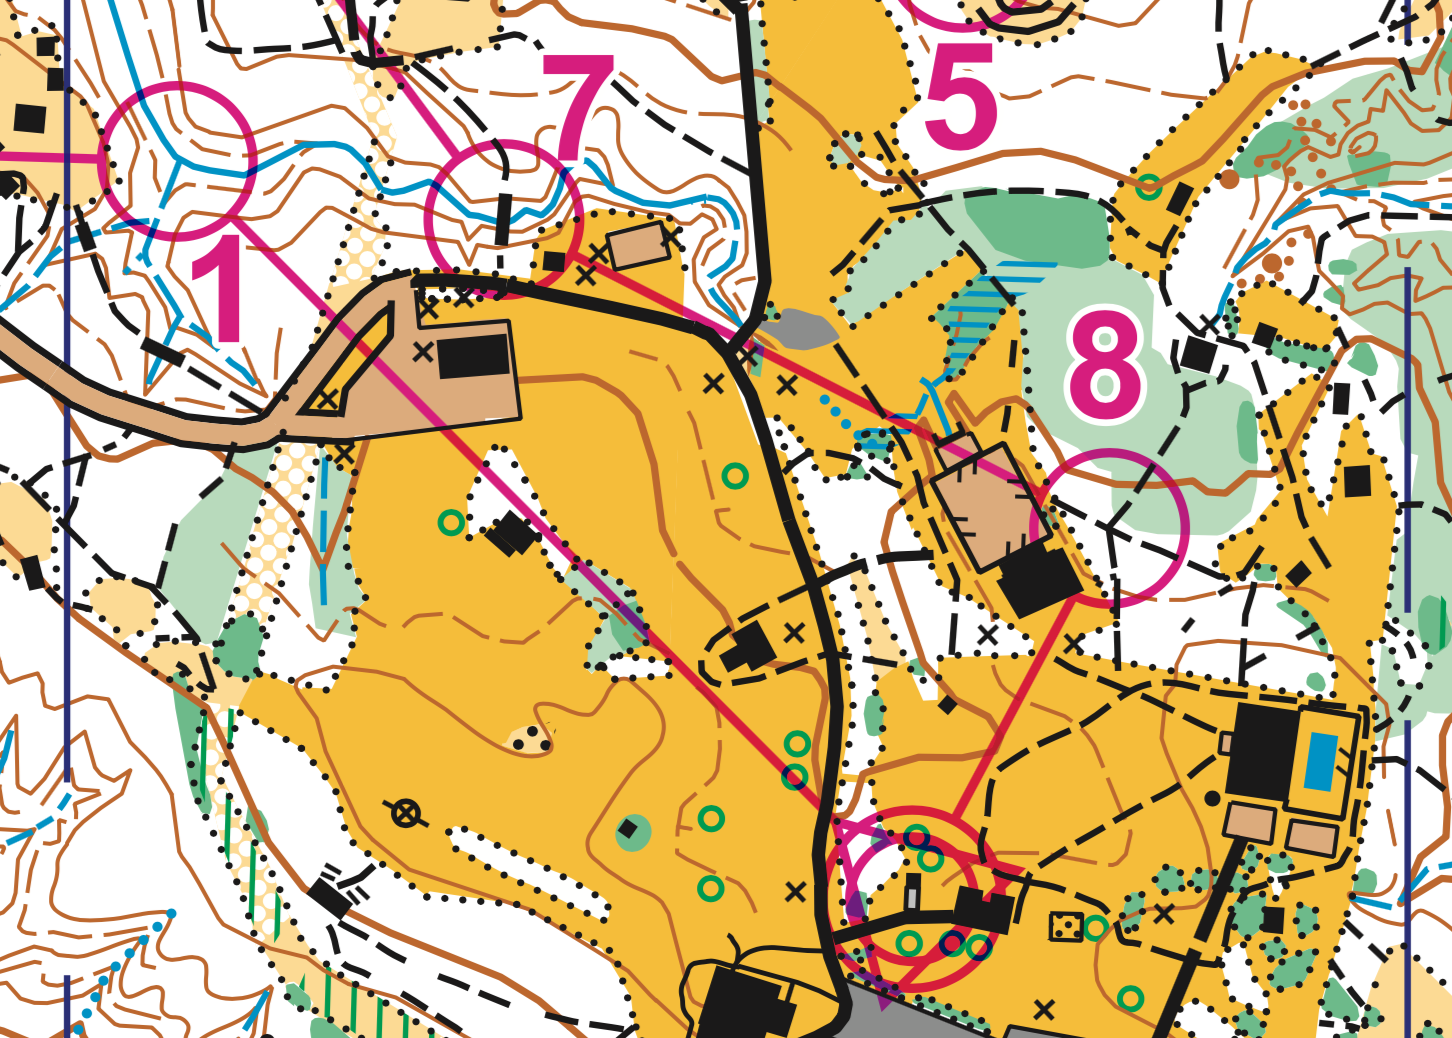
Magenta: Overprinting symbols
Items that are overprinted on a completed map include symbols for the start, control points, control numbers, lines between control points, and finish. Extra symbols are available so that information relating to that event may be shown e.g. crossing points, forbidden routes, first aid post, and refreshment point etc. These are not permanent features and thus can’t be included when the map is printed.
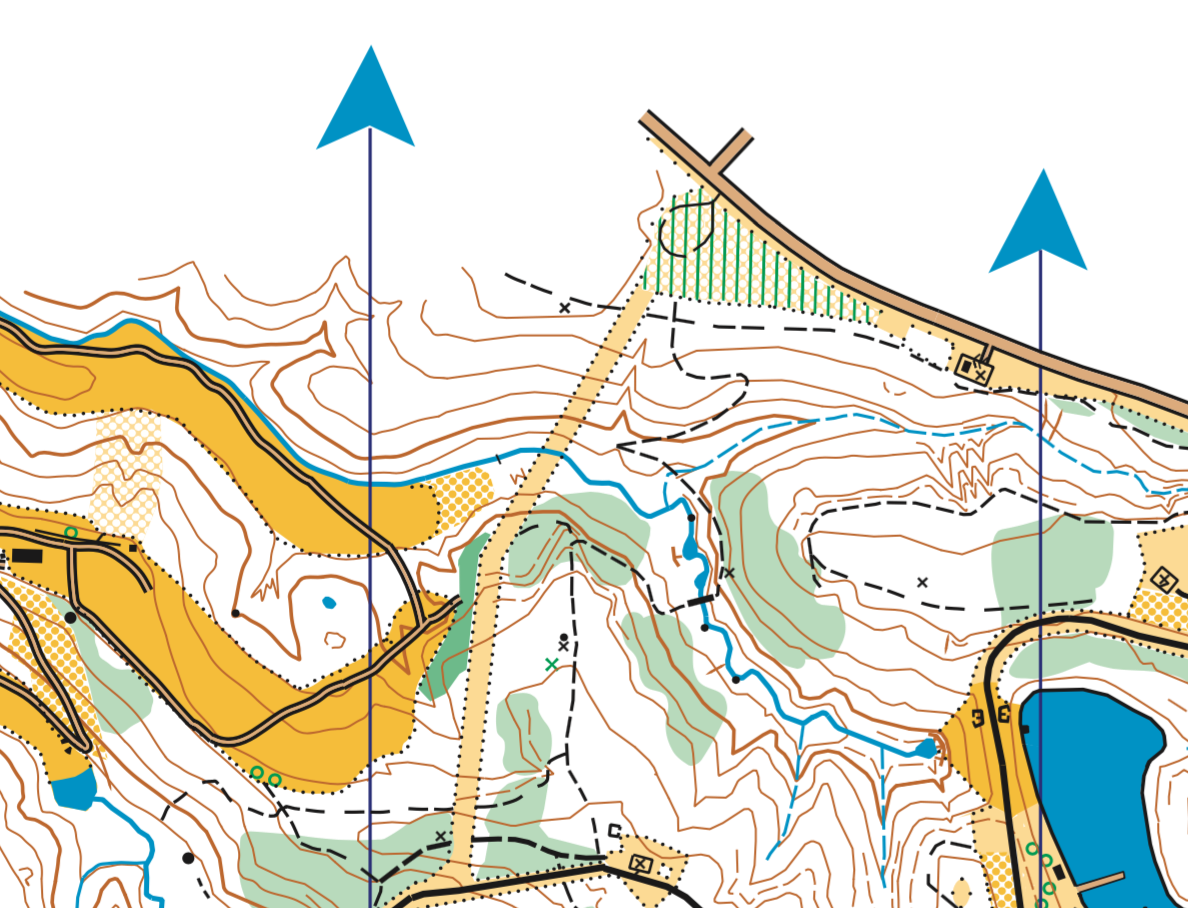
Technical symbols
Two technical symbols are required on all maps: Magnetic north lines printed in blue, and register crosses (these show that the printed colors are coincident).
Map Scale
The idea of Map Scale is to allow an Orienteer to measure a distance on the map and then know exactly what that distance is in the real world. For example, three centimeter (cm) is measured on the printed map as the distance between two buildings (using the ruler on the edge of the plate compass). For a 1:10,000 scale map, this scales up to 30,000 cm in the real world or 300 meters between the buildings (doing the easy conversion of centimeters to meters). Every orienteering map will include a scale number as part of the Legend or other information around the edges of the map itself.
Where are we located on the map?
The answer to this question is most important to your ability to plan and move through the reality of the area that surrounds you. Try to constantly update and determine your location on the map in your mind as you travel. Many Orienteers use the technique of “thumbing” which involves folding the map down to the immediate area that you are in and then placing your thumb tip on the place that you are currently. Folding and re-folding the map is part of this technique as you move. “Setting the Map” also describes this overall technique.
Additional Resources
The added details on an orienteering map not only provide more feedback on precise location as you travel through an area, but also offer point features to discover if you move off-trail. The following legends and tools are very useful to help you understand symbols on orienteering maps:
- Orienteering map symbols/legend: PDF or JPG
- Map symbols for sprint maps: PDF or JPG
- Map symbols with small perspective drawings of actual terrain: PDF (starting on page 18)
- Resource files courtesy of Maprunner UK and IOF
- Training Tools PDF – Tasks & Quizzes – courtesy of David Colls
The International Orienteering Federation determines the guidelines and standards for orienteering maps used around the world. There are special mapping standards for foot orienteering, sprint-orienteering (a subset of Foot-O), mountain bike orienteering and ski orienteering.
READY TO LEARN ABOUT THE COMPASS? Click here…